Products
The Complete Guide to Custom Embroidered Apparel
A practical guide to custom embroidery: how machine embroidery works, digitizing a design, stitch count and density, thread types, what products embroider well, embroidery vs printing, and launching with print on demand.
Tamm Team7 min read
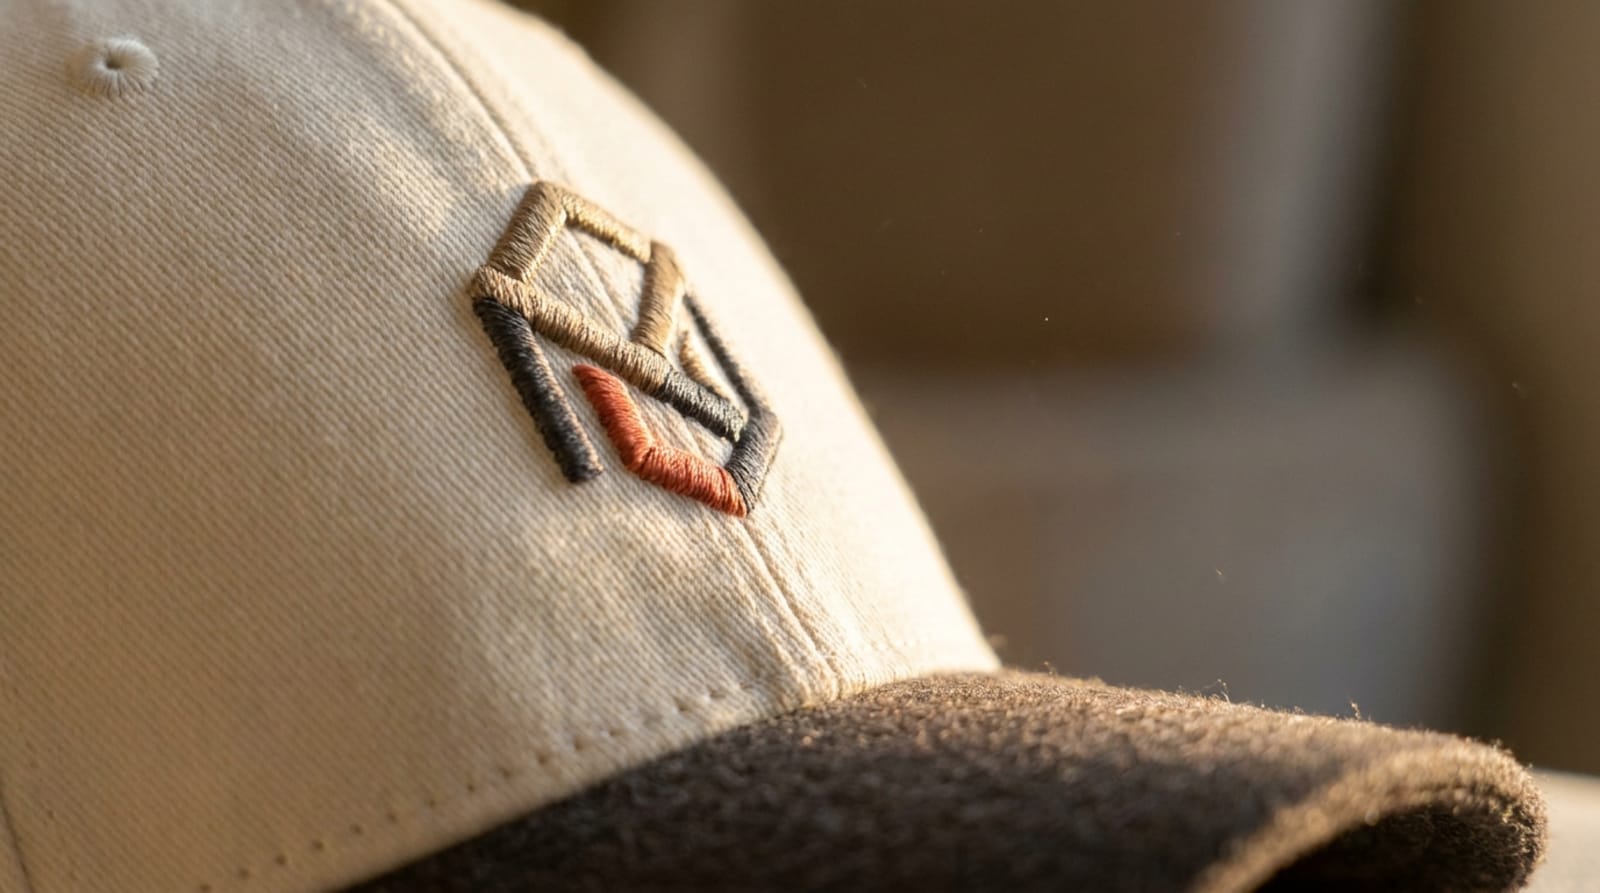
Custom embroidery is the oldest and most premium way to decorate apparel, because it stitches your design in thread instead of printing it in ink, giving a raised texture and durability that lasts for years. To sell embroidered apparel well, first understand how machine embroidery works, how to digitize your design into a stitch file, why stitch count governs cost, which threads, fabrics, and products embroider well, and when embroidery beats printing and when it does not. This practical guide takes you from idea to launch: a clear look at the machine and digitizing, a products table, an honest embroidery versus printing comparison, the cost drivers, and steps to launch embroidered products with print on demand. The core idea is simple: you can build a full embroidered apparel brand without tying up a single riyal in inventory that may never move.
How machine embroidery works
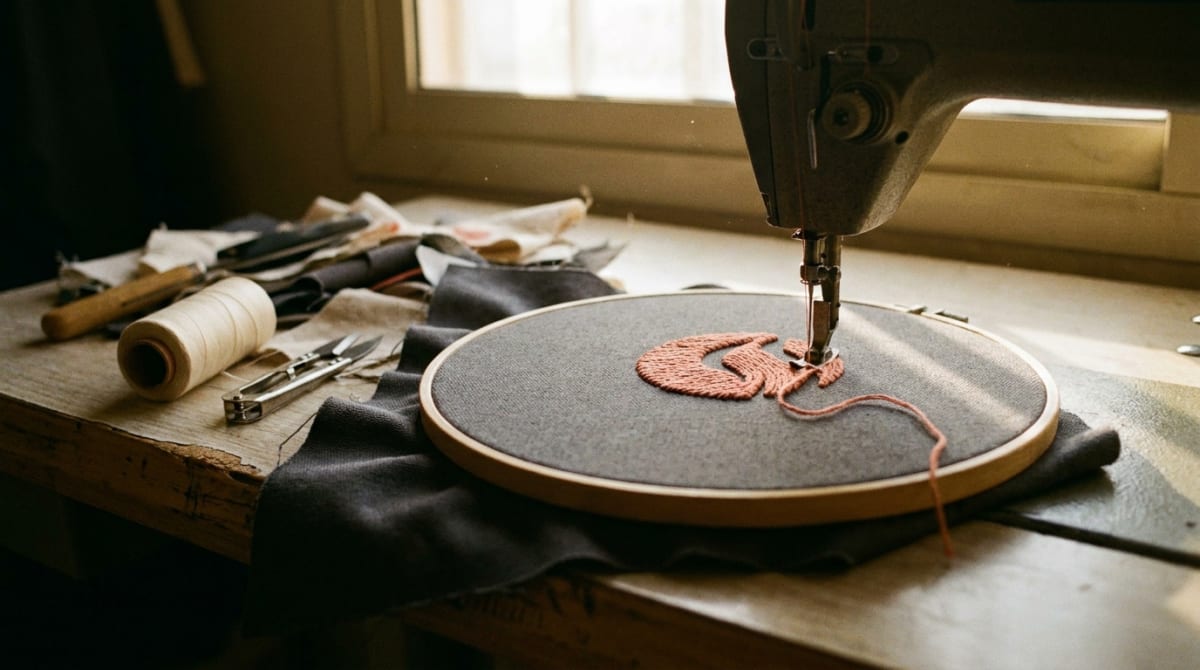
An embroidery machine stitches your design in thread, one stitch at a time, along a pre-saved digital path. The garment is held on a hoop that tensions the fabric and keeps it from shifting, then the needle and hoop move together to place each stitch precisely. An industrial machine carries multiple heads and thread spools, so it changes colors automatically in the order the design calls for. The result is a raised, tactile mark built from thousands of interlocked stitches, not a layer of ink on the surface. That raised texture is what gives embroidery its high-end brand feel, and it is also why it is limited on very fine detail compared with printing.
Digitizing: how your design becomes stitches
Digitizing is the step that separates clean embroidery from a messy one. An embroidery machine does not read an image or an ordinary design file. It needs a stitch file that tells it the direction, length, and density of every stitch, plus the color order. A skilled digitizer decides how each area is filled, where stitch angles change to catch the light, and how the design is anchored so the fabric does not pucker underneath.
Why good digitizing pays off
Poor digitizing produces loose threads, puckered fabric, and unreadable lettering, even if your original design is perfect. Good digitizing makes the embroidery flat, durable, and readable from a distance. The digitizing fee is paid once per design, then the file is reused for every piece after that, so it is a one-time investment, not a recurring cost.
Stitch count and density
Stitch count is the first driver of embroidery cost and time. The larger the design or the denser its fill, the more stitches, and with them more time and thread. Density means how close the stitches sit within an area: high density gives solid coverage and rich color, but it makes the piece heavier and stiffer and can pucker light fabrics underneath. A simple lettered logo needs far fewer stitches than a fully filled patch. The practical rule: design for embroidery with clear strokes and reasonable areas, not with fine detail that the stitches swallow.
Embroidery thread types
The thread type sets the sheen, durability, and colorfastness of the embroidery. Choose the thread by the product and the expected care.
- Polyester: The most used today. Durable, colorfast, and resistant to repeated washing and bleach, so it is best for daily wear and uniforms.
- Rayon: Higher sheen and a softer feel for a luxury look, but less durable than polyester under harsh washing.
- Metallic: A shiny touch for details and standout logos, used sparingly because it is harder to stitch and less forgiving.
- Cotton thread: A classic matte look for heritage-style brands, less common in modern production.
Start with polyester thread for a first drop. Its durability and colorfastness give you the fewest returns and the most satisfaction, and it suits Saudi Arabia's hot climate and frequent washing. Save metallic for small details only.
Which products embroider well
Embroidery shines on durable woven fabrics that can take hoop tension and stitch density. Thin, sheer fabrics can pucker or tear under dense stitching. Here is a quick table of the best-suited products:
| Product | Why it embroiders well | Practical note |
|---|---|---|
| Cap and beanie | Durable fabric and an ideal front for a logo | Embroidery is the most common finish on them |
| Polo | Thick pique cotton holds stitches firmly | The left chest is the classic logo spot |
| Hoodie and jacket | Heavy fabric takes larger designs | Ideal for logos and raised lettering |
| Embroidered patch | Sewn or pressed onto any piece later | Gives a complete brand look and high flexibility |
| Bags and baseball caps | Canvas and heavy cotton are ideal | Withstands hard daily use |
For caps and beanies specifically, read the custom caps guide and the custom beanies guide for style and fit details, and for embroidery on heavier pieces see the custom hoodies guide.
Embroidery vs printing
There is no absolute best method, only the method best suited to each design and product. Embroidery builds the design in thread for a raised texture and durability, while printing lays ink on the surface to open up color and detail. This table sums up the differences:
| Criterion | Embroidery | Printing |
|---|---|---|
| Texture | Raised, tactile, premium | Flat on the surface |
| Durability | Very high, lasts for years | Good, depends on the method |
| Colors and gradients | Limited, one thread per color | Excellent for many colors and photos |
| Best design | Logos, lettering, simple shapes | Large, complex designs |
| Cost | Depends on stitch count | Depends on area and method |
| Best product | Cap, polo, hoodie, jacket | Tee, large front designs |
For a deeper comparison of the print methods themselves, read DTG vs screen printing. And if you are designing a printed tee, start with how to design a t-shirt.
What determines the cost of embroidery
Embroidery cost is not a mystery, but a sum of clear factors you can control from the design stage:
- Stitch count. The biggest driver. Shrink and simplify the design to cut stitches, time, and cost.
- Density. A solid, dense fill uses more thread and time than a design with open areas.
- Digitizing. A one-time cost per new design, after which the file is reused for free.
- Number of thread colors. Each color change adds setup time, so fewer colors simplify production.
- Garment type. A structured cap differs from a thin polo, and each piece has a different blank cost.
Five steps to launch your embroidered products with print on demand
- Choose the product and design. Start with one piece that embroiders well and a simple logo in clear lettering that reads from a distance.
- Digitize the design and order a sample. Convert your design into a stitch file, then order one piece to feel the quality, density, and colorfastness before you publish.
- Match the decoration method to the design. A logo and lettering lean toward embroidery, while a multi-color design or a photo leans toward printing. Choose deliberately.
- Price on real costs. Add the embroidered item cost, packaging, shipping, payment gateway fees, and marketing's share, then add a margin that funds growth.
- Launch with no inventory. Publish the product for sale, and each piece is embroidered after the customer orders and pays, so you test several designs and keep the winner with no loss.
Conclusion
Custom embroidery gives your apparel a raised, premium texture and lasting durability, and it is the best choice for logos and lettering on caps, polos, hoodies, and patches. To sell it well, understand how the machine works, digitize your design cleanly, control stitch count and density because they govern cost, choose a thread and fabric that embroider well, and match embroidery or printing to each design on its own. Start with one product and a sample, and launch with print on demand so you test your designs with no inventory and no risk. For the next step, see the best print on demand products, then start free with Tamm, and leave the storage and shipping to us while you focus on the brand.
Frequently asked questions
- How does machine embroidery work?
- An embroidery machine stitches your design thread by thread along a digital path. The garment is held on a hoop, and the machine moves automatically to place each thread color until the design is complete, raised, and tactile.
- What is digitizing in embroidery and why does it matter?
- Digitizing converts your design file into a stitch file the machine can read, setting each stitch's direction, density, and color order. Good digitizing means clean, flat embroidery with no puckering, while poor digitizing ruins even the cleanest design.
- What is the difference between embroidery and printing on apparel?
- Embroidery stitches the design in thread for a raised, premium feel and high durability, and it suits logos and lettering. Printing lays ink on the surface, so it suits large multi-color designs, gradients, and photos at a lower cost for complex art.
- What determines the cost of embroidery?
- The main driver is stitch count, so the larger and denser the design, the more stitches, time, and thread it takes. Add a one-time digitizing fee per design, the number of thread colors, and the type of garment.
- Which products embroider well?
- Caps, beanies, polos, hoodies, jackets, patches, and bags embroider beautifully. In general, durable woven fabrics like heavy cotton, denim, and wool work better than thin, sheer fabrics that can pucker under dense stitching.
- Should I embroider a batch before I sell?
- No. Start with print on demand, so each piece is embroidered after the customer orders and pays. That way you test your designs with no inventory and no risk before any bulk order.